How to Host a Web Application on an Azure VM — From Zero to HTTPS
This guide walks you through hosting a web application on an Azure VM from scratch — creating the VM, securing it, deploying your code, pointing a domain at it, and finishing with a valid SSL certificate. We're doing this the simplest way possible so you understand the full picture. It's not production-hardened, but it's real and it works. Do this at least once before reaching for higher-level abstractions like App Service or Container Apps — understanding what those platforms are abstracting away makes you a much better engineer.
Note: This guide is intentionally simple. The goal is to understand the flow end-to-end. Once you've done this once, come back and harden it — switch to SSH keys, add a firewall, use PM2 or Docker to keep your app alive.
Step 1 — Create the Virtual Machine
In the Azure Portal, search for Compute infrastructure in the top search bar and select Virtual machines.
Click Create and fill in the Basics tab:
- •Region — pick the one closest to where your users or clients are
- •VM name — give it a clear name (e.g.,
my-app-vm) - •Image — select the latest Ubuntu Server LTS (e.g., Ubuntu 24.04 LTS x64 Gen2)
- •Size — pick whatever fits your budget. For a small app, the cheapest B-series is fine to start

Administrator Account
Scroll down to the Administrator account section. Select Password as the authentication type, then set a username and a strong password.
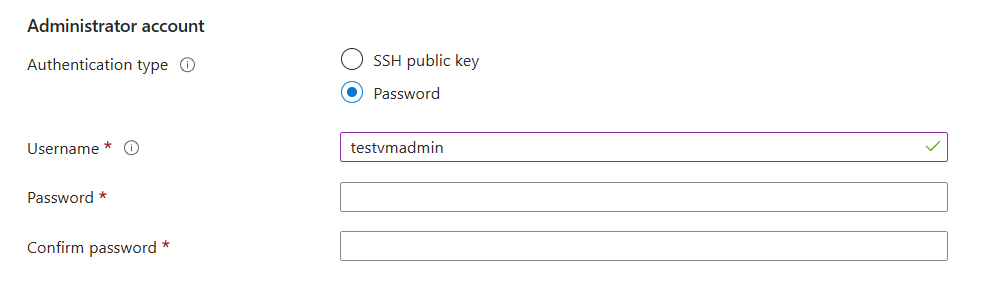
Security note: Password authentication is the quickest way to get started, but it's not something you want on anything real. Once you understand the full deployment flow, always switch to SSH key authentication.
Leave everything else as default and click Review + create, then Create. Wait for the deployment to finish.
Step 2 — Open the Right Ports in the NSG
Once the VM is deployed, you need to tell Azure which traffic is allowed in. This is controlled by the Network Security Group (NSG) that was automatically created with your VM.
In the portal search bar, type NSG and open the NSG attached to your VM.
Go to Inbound security rules and make sure the following ports are open:
- •Port 22 (SSH) — already open by default. Change the Source from
Anyto My IP address. This means only you can SSH in. Every time you need to connect from a different location, update this rule. - •Port 80 (HTTP) — open to
Anyso the web is accessible - •Port 443 (HTTPS) — open to
Anyfor SSL traffic - •Your app port (e.g.,
5000) — open if you need to test directly before Nginx is configured - •ICMP (Ping) — add a rule with protocol
ICMPso you can ping the VM to confirm it's reachable
Step 3 — Connect to the VM
Go to your VM's Overview page and copy the Public IP address.
Open your terminal and first confirm the VM responds to ping:
ping <your-vm-ip>
Then connect via SSH:
ssh username@your-vm-ip
You will be prompted to enter your password.
Step 4 — Install Nginx
Once you're inside the VM, update the package list and install Nginx:
sudo apt update
sudo apt install nginx -y
Verify it's running:
curl 127.0.0.1
You should get back the default Nginx HTML page. That confirms Nginx is up and serving traffic.
Step 5 — Deploy Your Application
The simplest way to get your code onto the VM is Git. Install it and clone your repo:
sudo apt install git -y
git clone https://github.com/your-username/your-repo.git
cd your-repo
If your app runs on Node.js, install it and then install dependencies:
curl -fsSL https://deb.nodesource.com/setup_20.x | sudo -E bash -
sudo apt install nodejs -y
npm install
Run your app:
node index.js
Test it from inside the VM:
curl 127.0.0.1:5000
Heads up: Running with
nodedirectly means the app stops the moment you close the terminal. Once you're comfortable with the flow, switch to PM2 or Docker — they keep your app running in the background, restart it on crashes, and survive server reboots. For now, this is enough to validate everything works end-to-end.
Step 6 — Configure Nginx as a Reverse Proxy
Right now Nginx serves its default page on port 80. You need to tell it to forward all incoming traffic to your app running on port 5000.
Open the default Nginx config:
sudo nano /etc/nginx/sites-available/default
Replace the contents of the server block with this:
server {
    listen 80;
    server_name yourdomain.com www.yourdomain.com;

    location / {
        proxy_pass http://localhost:5000;
        proxy_http_version 1.1;
        proxy_set_header Upgrade $http_upgrade;
        proxy_set_header Connection 'upgrade';
        proxy_set_header Host $host;
        proxy_cache_bypass $http_upgrade;
    }
}
Save the file, test the config, and reload Nginx:
sudo nginx -t
sudo systemctl reload nginx
Now hitting your VM's public IP on port 80 should serve your app.
Step 7 — Point a Domain at Your VM
Buy a domain from any registrar you like. Then come back to Azure to manage its DNS.
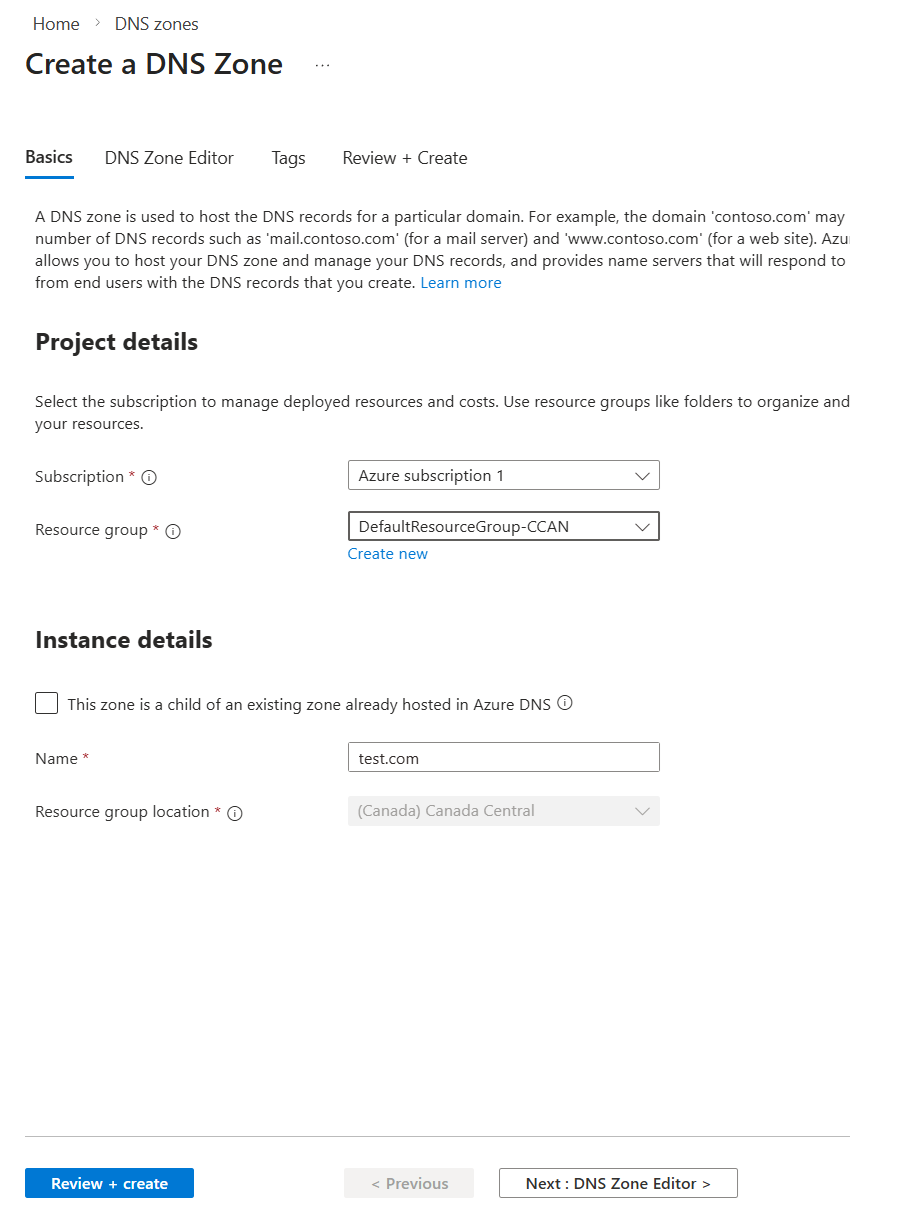
In the portal, search for DNS zones and click Create.
- •Name — enter your domain exactly as purchased (e.g.,
yourdomain.com) - •Leave everything else as default and create it
Once created, open the DNS zone. You'll see an NS record with four Azure name servers listed — something like:
ns1-04.azure-dns.com
ns2-04.azure-dns.net
ns3-04.azure-dns.org
ns4-04.azure-dns.info
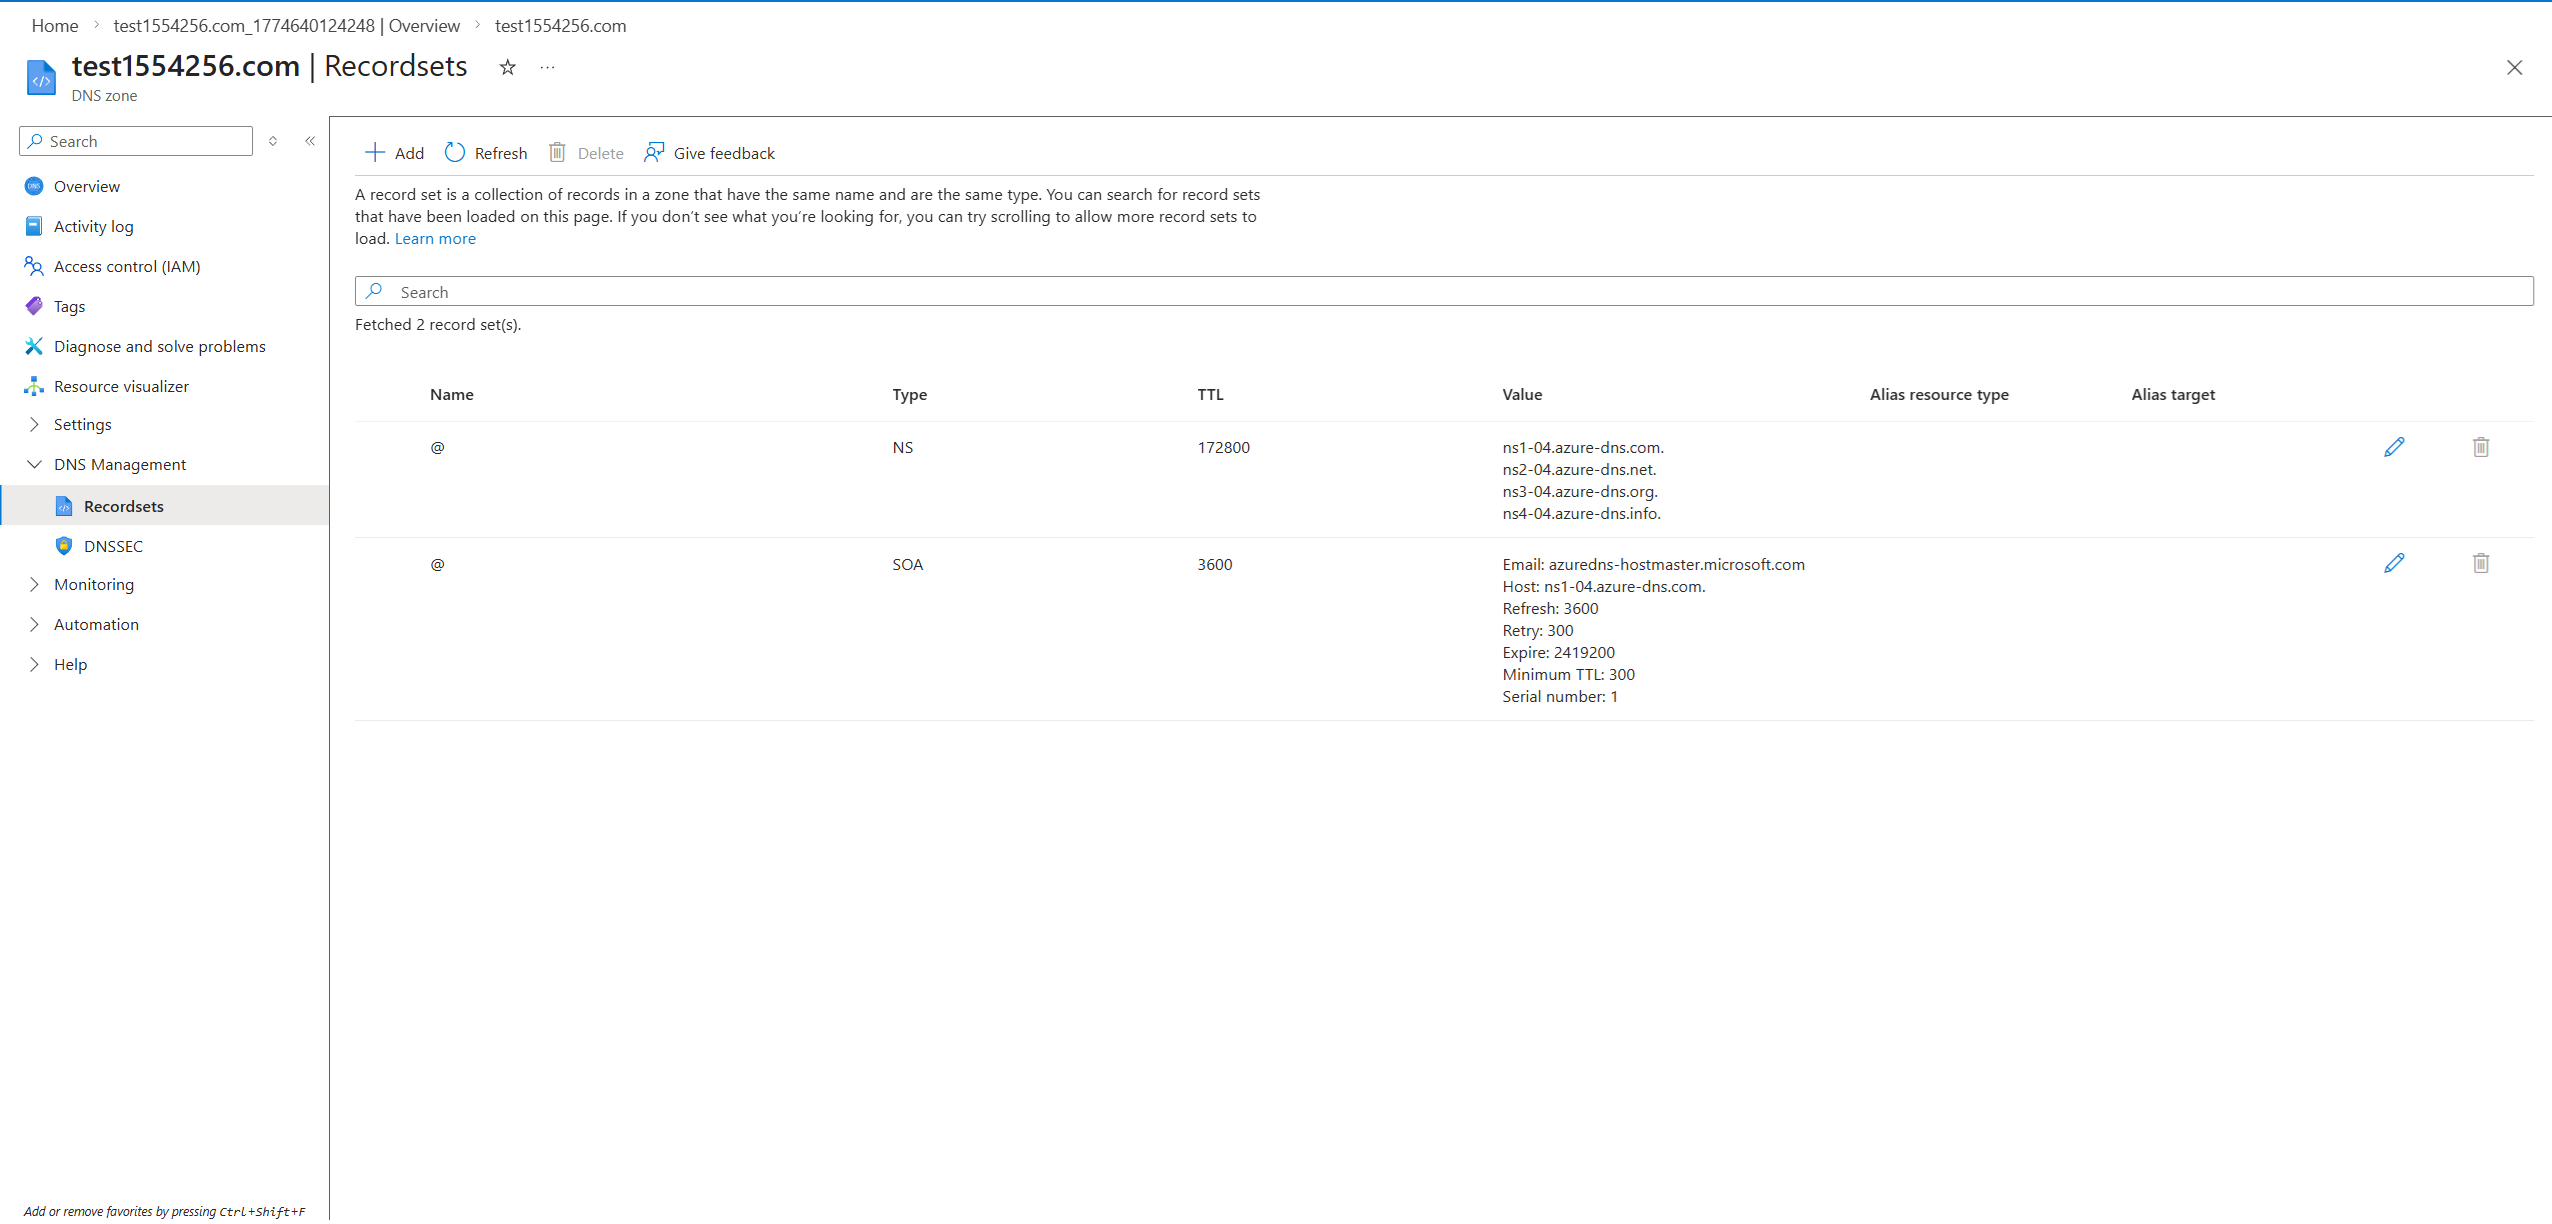
Copy all four and go to your domain registrar. Find the Nameservers setting for your domain and replace the default nameservers with these four Azure ones. This tells the internet to ask Azure for your domain's DNS records.
DNS propagation can take anywhere from a few minutes to 48 hours depending on the registrar. In practice it's usually under an hour, but don't plan a launch around it.
Add the A Record
Back in your Azure DNS zone, go to DNS Management → Recordsets and click + Add:
- •Name —
@(this means the root domain, e.g.,yourdomain.com) - •Type —
A - •IP address — your VM's public IP
Add a second record for www:
- •Name —
www - •Type —
A - •IP address — same VM public IP
Verify DNS is Working
From your terminal, run:
nslookup yourdomain.com
If it returns your VM's IP address, DNS is live and you're ready for SSL.
Step 8 — Add SSL with Certbot
Log back into your VM and install Certbot:
sudo apt update
sudo apt install certbot python3-certbot-nginx -y
Run Certbot — it will automatically detect your Nginx config and provision a certificate:
sudo certbot --nginx -d yourdomain.com -d www.yourdomain.com
Follow the prompts. Certbot will modify your Nginx config at /etc/nginx/sites-available/default to add the HTTPS (port 443) server block and set up automatic HTTP → HTTPS redirects.
Once done, visit https://yourdomain.com — your app is live with a valid SSL certificate.
What's Next
You now have a working end-to-end deployment. Here's what to tighten up when you're ready:
- •Switch SSH to key-based auth — disable password login entirely
- •Use PM2 — keeps your Node.js app running after terminal exit, restarts on crashes, and survives reboots (
pm2 start index.js && pm2 save)
This is the simplest path from zero to a live HTTPS web app on Azure. Once you understand this flow, the natural next step is to containerize your app and move to Azure Container Apps — where scaling, SSL, and deployments are handled for you automatically.
Aziz Jarrar
Full Stack Engineer